
What is a diaper jeep and how do you make one? A diaper jeep is a creative, multi-layered diaper cake crafted to resemble a Jeep, a popular vehicle often associated with adventure and fun. It’s a unique and practical centerpiece for a baby shower, combining essential baby items with a playful design. You can absolutely make a diaper jeep yourself with a few supplies and a bit of patience!
This guide will walk you through creating your very own diaper jeep, transforming everyday diapers into a show-stopping centerpiece. Forget the typical diaper stroller or diaper carriage; a diaper jeep is far more adventurous! It’s a fantastic alternative to a standard diaper cake and can be customized to match any baby shower theme. Whether you’re crafting a diaper stroller for a boy or a diaper pram for a girl, the principles remain the same. We’ll cover everything from selecting your materials to assembling the final masterpiece, ensuring your diaper vehicle is a hit. You might even get inspired to create other diaper vehicles, like a diaper motorcycle, a diaper firetruck, or even a diaper boat or diaper train!
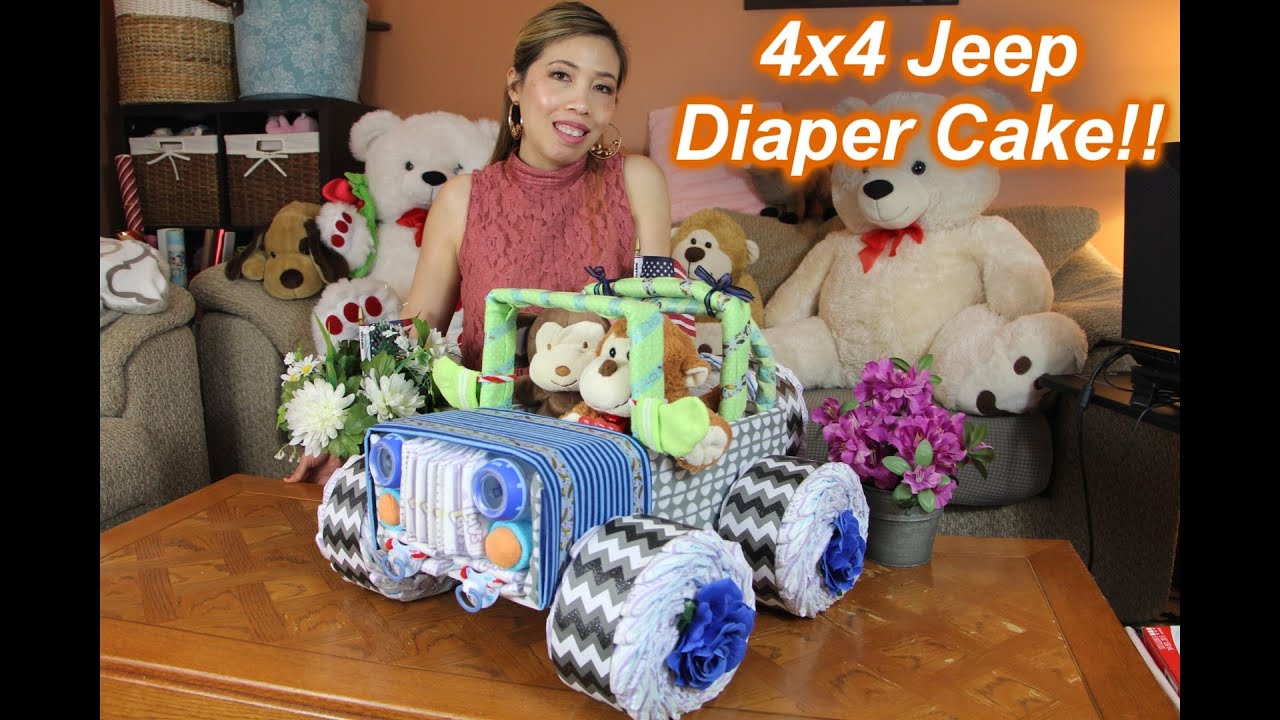
Image Source: i.ytimg.com
Why a Diaper Jeep?
Choosing a diaper jeep as your baby shower centerpiece offers several advantages over more traditional diaper cakes. It’s a conversation starter, a functional gift, and incredibly photogenic.
- Uniqueness: While diaper cakes are popular, a diaper jeep stands out. It’s unexpected and shows extra effort and creativity.
- Thematic Versatility: The Jeep theme can easily tie into a “baby on the way” adventure theme, outdoorsy vibes, or even a specific color scheme.
- Practicality: It’s a substantial gift of diapers, which are always needed by new parents. You can also incorporate other useful baby items.
- Memorable Gift: Guests will remember the effort and creativity that went into this special gift.
Gathering Your Supplies
Before you start rolling, let’s gather everything you’ll need. Think of this as packing for your Jeep adventure!
Essential Materials:
- Diapers: This is the core of your creation!
- Quantity: You’ll likely need between 50-100 newborn or size 1 diapers, depending on how full you want your jeep to be.
- Type: Rolled diapers are the easiest to work with for a diaper jeep. You can also use folded diapers, but rolling creates a more uniform look.
- Base: A sturdy foundation is key.
- Cardboard Base: A round or square piece of thick cardboard (around 12-16 inches in diameter/side) works well. You can cut this from a sturdy box.
- Cake Board: A disposable cake board from a craft store is another excellent option.
- Wheels: What’s a Jeep without wheels?
- Diaper Wheels: Smaller rolled diapers or even small blankets/towels rolled tightly can be used for wheels.
- Actual Wheels: You can also purchase toy Jeep wheels or even use sturdy cardboard cutouts painted black for a more realistic effect.
- Body Support: To give your Jeep structure.
- Cardboard Tubes: Toilet paper rolls or paper towel rolls can form the base of the Jeep’s cabin.
- Cardboard Boxes: Small, rectangular cardboard boxes can be used for the main body of the Jeep.
- Fastening & Securing: Keeping it all together.
- Rubber Bands: Essential for holding rolled diapers together.
- Clear Tape: Strong tape (like packing tape or Scotch tape) for securing cardboard pieces.
- Ribbons/Yarn: For tying off diaper layers and adding decorative flair.
- Decoration: Making it look like a Jeep!
- Craft Paper/Felt: For headlights, grille, taillights, and other Jeep details.
- Baby Items: Small baby blankets, washcloths, receiving blankets, or even small toys can be incorporated.
- Baby Shower Decorations: Colors, bows, and other themed items.
- Baby-Safe Glue Stick/Hot Glue Gun (Use with caution and adult supervision, ensuring no hot glue touches the diapers directly): For attaching decorative elements.
- Tools:
- Scissors: For cutting cardboard and paper.
- Craft Knife: For more precise cuts (optional).
- Ruler: For measuring.
Step-by-Step Guide to Crafting Your Diaper Jeep
Let’s get down to building your diaper Jeep! Think of each step as building the different parts of your vehicle.
Step 1: Preparing the Diapers
This is the foundation of your diaper cake jeep.
- Rolling the Diapers: Take one diaper and lay it flat. Roll it tightly from the top (the side with the tabs) down to the bottom (the sealed end). The rolled diaper should resemble a small cylinder.
- Securing the Roll: Use a rubber band to secure each rolled diaper. Place the rubber band around the middle of the rolled diaper.
- Repeat: Roll and secure as many diapers as you think you’ll need. It’s better to have too many than not enough!
Step 2: Building the Jeep Body
This is where your diaper vehicle starts to take shape.
For a Simple Diaper Jeep:
- Base Layer: Arrange a ring of rolled diapers around the edge of your cardboard base. Use rubber bands to hold this ring together, creating a circular base. You might need 10-15 diapers for this first layer.
- Second Layer: Place another layer of rolled diapers on top of the first layer, staggering them slightly. Again, use rubber bands to hold the layer together. This will create a wider, more stable base.
- Higher Layers: Continue adding layers, perhaps making each subsequent layer slightly smaller in diameter, to create a tiered effect. This forms the main body of your Jeep.
For a More Detailed Diaper Jeep (Using Boxes):
- The Main Body: Take a medium-sized rectangular cardboard box. This will be the main cabin of your Jeep. You can cover this box with a baby blanket or wrap it in craft paper in your desired color.
- The Base: Use your cardboard base or cake board. This will support the box and the wheels.
- Attaching the Body: Secure the box to the center of your cardboard base using strong tape. Ensure it’s stable.
- Adding Height (Optional): You can add another, smaller box on top of the main box for a different cabin effect, securing it with tape.
Step 3: Creating the Wheels
No Jeep is complete without its rugged wheels!
- Rolling for Wheels: If using diapers for wheels, roll 4-8 diapers very tightly. Secure them with multiple rubber bands to make them firm. You can also use small baby blankets rolled tightly.
- Attaching Wheels:
- To the Diaper Cake Base: If you’ve made a tiered diaper cake, you can simply place these rolled diaper wheels around the base of the bottom layer and secure them with rubber bands or ribbons.
- To a Boxed Jeep: If you’ve used a box, attach the diaper wheels to the sides of the box using strong tape or hot glue (again, be cautious with hot glue around diapers). You can also prop them up slightly to give the impression of the Jeep being lifted.
- Cardboard Wheels: If using cardboard cutouts, paint them black and attach them using double-sided tape or glue.
Step 4: Designing the Jeep Details
This is where the magic happens, transforming your diaper creation into a recognizable Jeep.
Front of the Jeep:
- Grille: Cut out a rectangular shape from black or dark grey craft paper or felt. This will be the Jeep’s grille. You can cut vertical slits in it for a more authentic look. Attach it to the front of your main Jeep body (the box or the front of your highest diaper layer).
- Headlights: Cut out two circles from white or yellow paper/felt for headlights. Attach them to the sides of the grille.
- Bumper: A strip of brown or grey paper can serve as a bumper below the grille.
The Cabin & Top:
- Windshield: Cut a large trapezoid shape from clear plastic (like from a clean packaging box) or white paper. Attach it to the front of your cabin. You can add a black outline with a marker if using paper.
- Roof/Top: Use a receiving blanket or a folded baby blanket to drape over the top of the cabin, creating a soft top. Secure it with rubber bands or ribbons. You can also cut a square from thick cardboard for a hardtop.
- Windows: Cut out smaller squares or rectangles from clear plastic or white paper for side windows and attach them.
Other Jeep Accents:
- Taillights: Small red circles on the back of the Jeep.
- Steering Wheel: A small paper circle attached to the inside of the windshield area.
- Spare Tire: You can attach a tightly rolled diaper to the back of the Jeep as a spare tire.
- License Plate: Create a fun “baby” license plate with the baby’s name or expected arrival date.
Step 5: Adding Final Touches and Decorations
Elevate your diaper jeep from functional to fabulous!
- Ribbon Embellishments: Tie colorful ribbons around each diaper layer to secure them and add a festive look. Coordinate these with your baby shower theme.
- Incorporate Baby Items: Tuck small baby gifts like washcloths, socks, pacifiers, or small toys into gaps between the diapers or attach them decoratively to the outside. A small stuffed animal can sit in the driver’s seat!
- Thematic Elements: If you have a specific baby shower theme (e.g., safari, woodland), add small thematic elements like plastic leaves, toy animals, or mini trees around the base of your diaper jeep.
- Personalization: Add a “Baby [Last Name]” banner or a “Welcome Baby!” sign.
Customization Ideas for Your Diaper Jeep
Make your diaper jeep truly one-of-a-kind with these creative twists!
Color Schemes:
- Classic Jeep Colors: Olive green, tan, or classic red are perfect for a traditional Jeep look.
- Pink for Girls: Use pink diapers and pink ribbons for a feminine touch.
- Blue for Boys: Opt for blue diapers and blue accents.
- Gender Neutral: Yellow, white, or grey are great neutral options.
Diaper Vehicle Variations:
While we’re focusing on the Jeep, remember this concept can be applied to other diaper vehicles!
- Diaper Stroller/Diaper Carriage: Shape diapers into a pram or stroller structure.
- Diaper Motorcycle: Roll diapers tightly and arrange them to mimic the wheels and body of a motorcycle.
- Diaper Firetruck/Diaper Boat/Diaper Train: These require more complex construction but are certainly achievable with careful planning and different shaped cardboard bases. Imagine a diaper train with multiple diaper “cars”!
Adding Baby Essentials:
Don’t just use diapers! Integrate other useful gifts:
- Baby Blanket Top: Use a soft receiving blanket as the Jeep’s top.
- Diaper Bag Wheels: Larger diaper bags can sometimes be incorporated as part of the base or even as a “trunk.”
- Baby Outfit Details: Drape a baby onesie over the top or have tiny baby socks hanging off the side like flags.
Displaying Your Diaper Jeep
The presentation is key for your impressive creation.
- Centerpiece: Place it prominently on the main gift table.
- Photo Booth Prop: It makes a fantastic prop for baby shower photos!
- Gift Station: Have it as the focal point of the gift-unwrapping area.
Frequently Asked Questions About Diaper Jeeps
Here are some common questions people have when creating a diaper jeep.
Q1: How many diapers do I really need for a diaper jeep?
A1: The number of diapers can vary significantly based on the size of your base, the desired height, and the tightness of your rolls. A good starting point is between 50 to 100 diapers. It’s always best to have a few extra on hand.
Q2: Can I use pre-folded diapers instead of rolling them?
A2: Yes, you can use pre-folded diapers, especially for the base layers to provide stability. However, for the visible outer layers and details, rolled diapers generally create a neater, more uniform, and appealing look for a diaper vehicle like a Jeep.
Q3: How do I make the diaper jeep stable?
A3: Stability comes from a strong base and secure connections. Use a sturdy cardboard base or cake board. Rubber bands are crucial for holding rolled diaper layers together. For boxed versions, strong tape is your best friend. Ensure any added boxes or decorations are securely fastened.
Q4: Is it safe to use a hot glue gun?
A4: Yes, you can use a hot glue gun, but exercise extreme caution. Ensure the hot glue only adheres to cardboard or decorative elements, never directly to the diapers themselves. Allow the glue to cool slightly before applying and hold the pieces firmly until set. Alternatively, double-sided tape or craft glue are safer options for attaching paper or felt decorations.
Q5: How long does it take to make a diaper jeep?
A5: The time can vary depending on your experience and the complexity of the design. Rolling diapers is the most time-consuming part. For a moderately detailed diaper jeep, expect to spend anywhere from 2 to 4 hours.
Q6: What other diaper vehicles can I make?
A6: The possibilities are vast! Beyond the diaper jeep, you can create a diaper stroller, diaper carriage, diaper pram, diaper motorcycle, diaper firetruck, diaper boat, or even a diaper train. Each requires a slightly different approach to shaping and construction but follows the same core principles of securing rolled diapers.
Q7: Can I add real baby items to the diaper jeep?
A7: Absolutely! In fact, it’s highly recommended. Incorporate useful baby items like washcloths, socks, pacifiers, small toys, or even a baby outfit. These can be tucked into the diaper layers or attached as decorative elements, making your diaper cake jeep even more of a practical gift.
Making a diaper jeep is a fun, rewarding project that results in a unique and thoughtful gift. It’s a testament to your creativity and care, sure to be a memorable part of any baby shower celebration. So gather your supplies, roll those diapers, and get ready to drive home a winner!